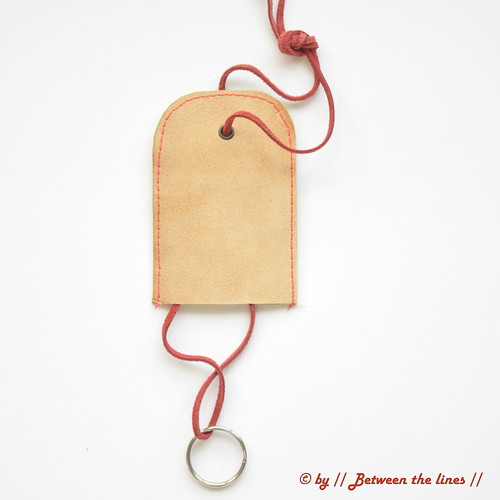
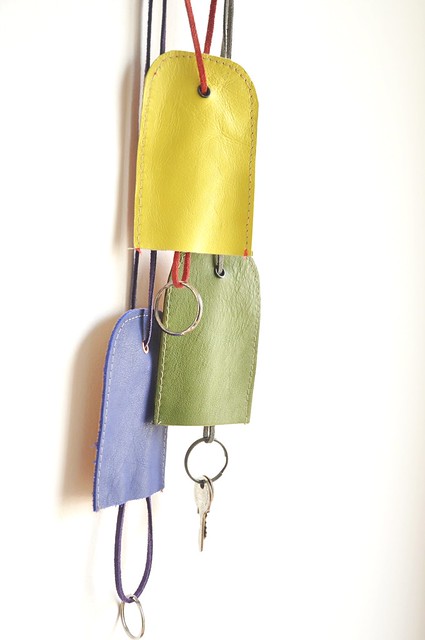
Quite some time ago, I got M. a cute leather key chain. The design was very simple. What made it special was the combination of materials: leather and rubber, and the color: tomato red. I immediately regretted I only bought one and of course when I went back they were all gone. A good reason to try to make something similar myself. It took me a while before I found the time, but this week I finally got to it. I made several in different colors and color combinations. Since they're really easy to make, I decided to share this project with a short how-totutorial. It's a perfect beginner's project for sewing leather on the machine.
Here's what you need:
- small pieces of leather (or faux leather or any other material which doesn't fray)
- (leather) shoe lace, ribbon, ...
- key ring
- 2 metal eyelets + setting tool
- hole punch
- adhesive hemming tape or vliesofix
- rotary cutter, scissors, cutting mat
- sewing machine, equipped with a special leather sewing needle
- iron
Instructions:
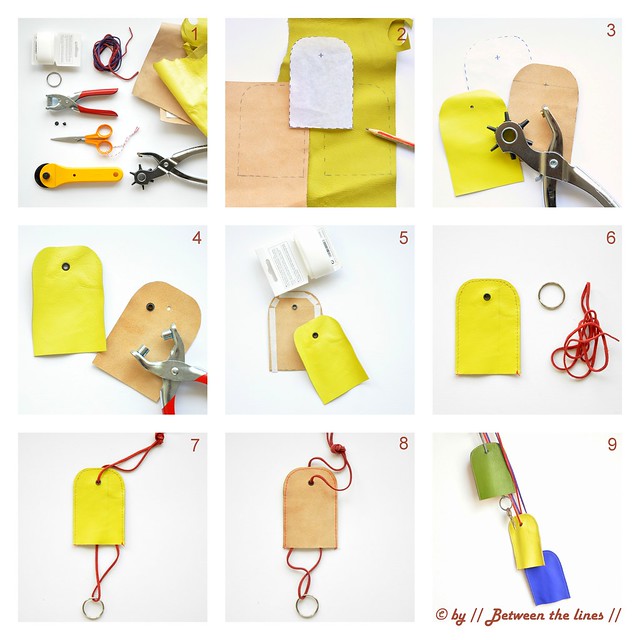
1. Print and cut out the template, which you can download here.
Note: the precise dimensions are given on the template. Make sure the scale of the print-out corresponds to the measurements given, before cutting leather.
2. Trace template on the back of the leather and cut (x2).
3. Punch holes in each piece according to template.
4. Set eyelets.
5. Cut small strips of hemming tape and iron onto one of the two cut pieces. The hemming tape will keep the pieces into place while sewing. Remove paper strips. Position the second piece on top of the first one - make sure to align precisely and iron into place. Next stitch the two layers together, about 0.5cm from the edge. Trim edges if necessary.
Note: (i) if you work with leather pieces of different thickness, iron the tape onto the thickest quality.
(ii) ironing leather: test on a piece of scrap first or use a cloth to protect leather from the heat of the iron.
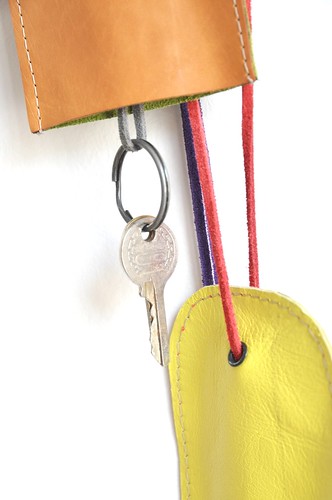
6. Thread shoelace through the eyelets while slipping on ring. Attach keys and done!
Optional: you can add a closure at the bottom, if you like (snap closure, button, ...).
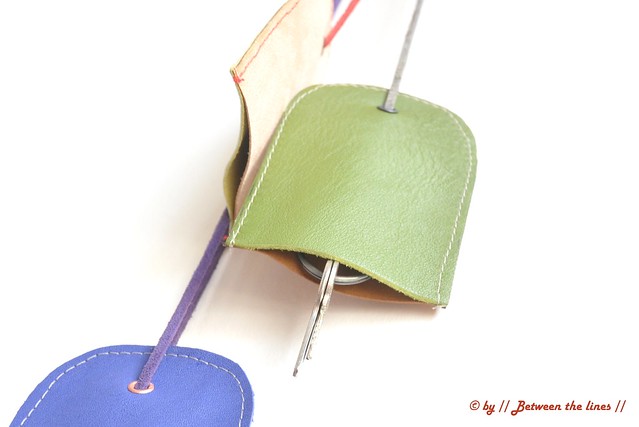
Note: From the comments and messages I received, I realize I should have explained how to use this key holder. The design is such that you can wear it around the neck - the keys don't show as the leather pouch covers them. To get to the keys, just slip the leather cover up while still wearing or take off and give the holder a shake so the keys come down... I hope this helps!
If you made something using a tutorial found on this blog or if you got inspired by something you found here, make sure to post your pictures here.

